Solar Panel Installation Process in Brisbane: What to Expect Step by Step
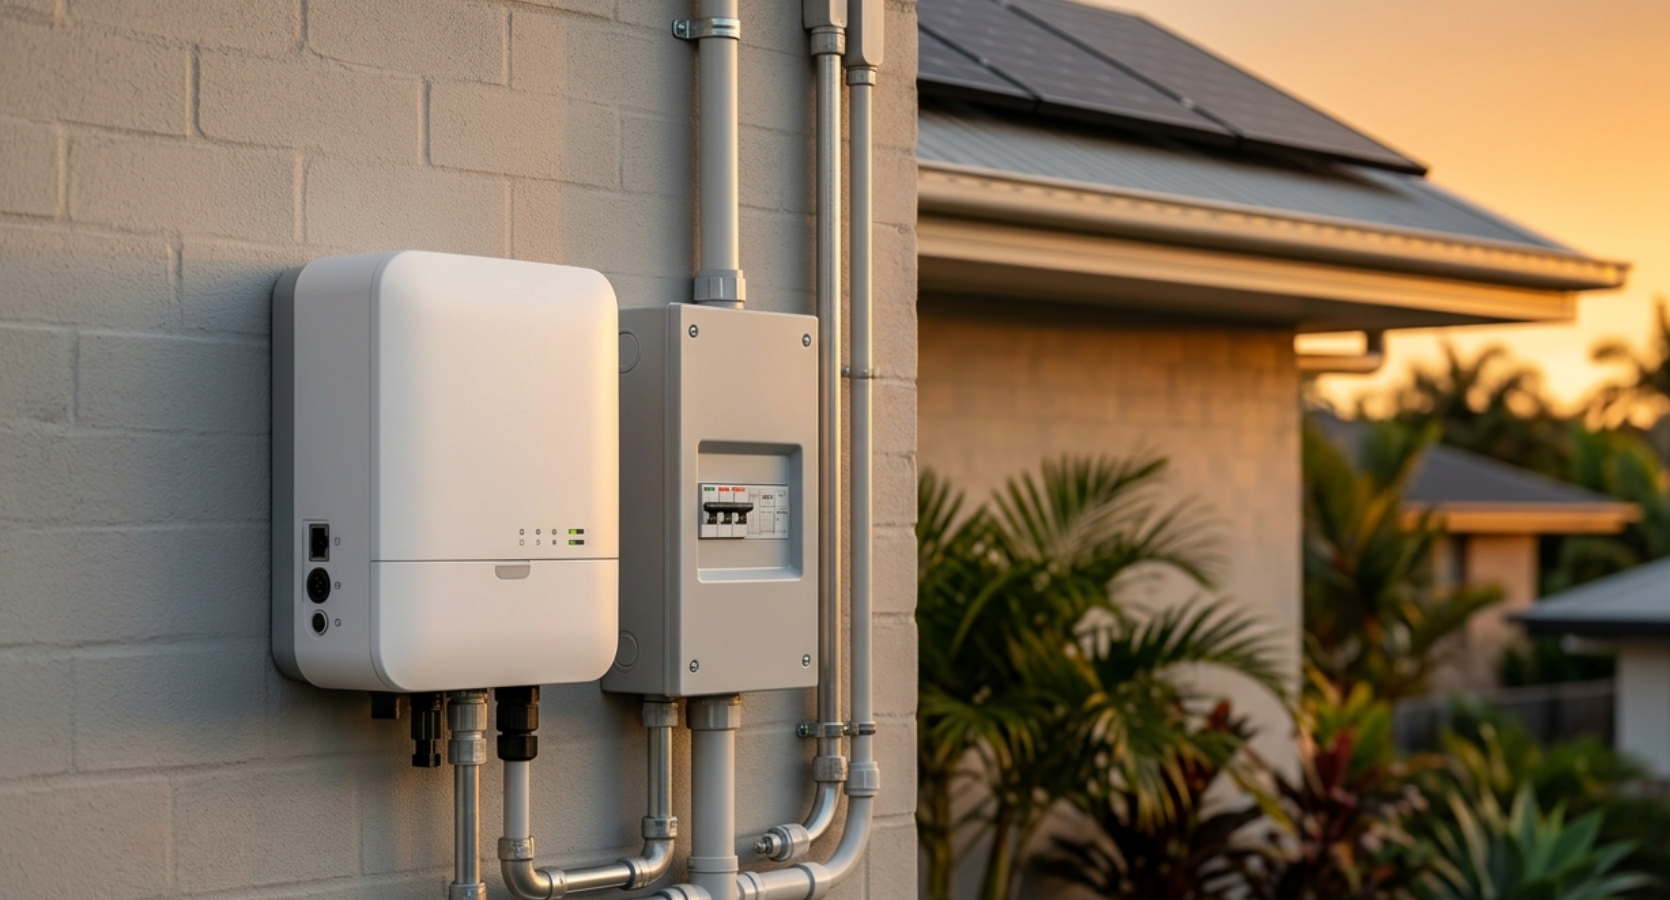
The solar panel installation process in Brisbane involves more steps than a single day on the roof, and knowing what those steps are makes the experience significantly smoother. From site assessment and network application through to smart meter activation and feed-in tariff setup, the full process typically takes four to eight weeks. Here's a clear walkthrough of every stage with realistic timelines and what to expect at each step.
Solar Panel Installation in Brisbane: What to Expect at Every Step
Most Brisbane homeowners who go solar spend considerable time researching which system to buy and considerably less time understanding what the solar panel installation process in Brisbane actually involves. That information gap is what this guide fixes.
We recently completed a solar panel installation Brisbane for a family in Kenmore — a four-bedroom home with a north-facing roof and a compatible switchboard. From site assessment to a commissioned system with an active feed-in tariff, the full process took six weeks. Here's exactly what happened at each stage, and what you can expect when it's your turn.
With over 10 years of experience and 2,000-plus electrical and solar jobs completed across Brisbane, Exclusive Electrical & Air is a Clean Energy Council accredited installer and licensed Queensland electrical contractor, meaning the full installation from the panel array to the switchboard connection is handled by one accredited team under one licence.
How Long Does Solar Panel Installation Take in Brisbane?
The solar panel installation process in Brisbane takes four to eight hours on installation day, but the full process from signing a contract to a commissioned system with an active feed-in tariff typically takes four to eight weeks. This accounts for network applications, meter upgrades, and any preparatory electrical work required before panels go on the roof.
Step 1: Solar Site Assessment and System Design in Brisbane
Before any paperwork is signed, a reputable Brisbane solar installer will conduct a proper in-person site assessment. This is where the quality of different installers starts to diverge — and it's worth knowing what a thorough assessment actually covers before you invite one in.
A thorough site assessment covers your roof's orientation, pitch, structural condition, and available unobstructed space. It identifies shading sources including trees, neighbouring structures, and rooftop equipment, and evaluates how they affect output across different times of day and seasons using software-based shading analysis, not just a visual estimate. It also covers your switchboard condition, meter type, phase supply, and any electrical infrastructure issues that need to be addressed before installation proceeds.
At the same time, the installer should be reviewing your electricity consumption data. Twelve months of bills, or ideally interval meter data showing half-hourly consumption patterns, allows the system to be sized appropriately for your household's actual usage rather than a generic estimate.
What to look for when choosing your installer:
Clean Energy Council accredited — a prerequisite for STC incentive eligibility, valid manufacturer warranties, and compliance with Queensland's solar installation standards. Credentials can be verified through the Clean Energy Council.
Licensed Queensland electrical contractor
In-person site assessment, not satellite-based quoting
Itemised quote covering all components and preparatory work
References or completed installations in Brisbane
Questions worth asking at the site assessment:
What is the expected annual generation for this system?
Is any switchboard or electrical work required, and is it included in the quote?
How is shading modelled — satellite estimate or on-site analysis?
What warranty covers the installation workmanship and for how long?
Are you Clean Energy Council accredited and a licensed Queensland electrical contractor?
For Brisbane homes with older switchboards, asbestos-containing meter box materials, or roofs that require structural assessment — common in older properties in Paddington, Ashgrove, and Taringa — this step will identify those issues before they become installation-day surprises.
A proper site assessment is where the process either starts right or starts with problems waiting to emerge. Book one with a team that does it properly.
📞 0468 813 833 Book Your Solar Assessment
Free on-site solar assessment. No obligation. We'll give you an itemised quote covering every cost before you sign anything. Clean Energy Council accredited. Licensed Queensland Electrical Contractor.
Step 2: Solar Quote, Contract, and Network Application
Once you've compared quotes, selected an installer, and accepted a proposal, a package of paperwork sets the installation in motion.
Getting two to three quotes before committing is sensible practice. When comparing, look beyond the headline price — compare component specifications including panel brand, model, and wattage; inverter brand and model; warranty terms for each component and for installation workmanship; and whether preparatory electrical work is included or listed as an additional cost.
At the contract stage, your installer should apply your Small-scale Technology Certificate (STC) discount, which reduces the upfront system cost based on your location, system size, and the current certificate market price. This discount is applied at point of sale and should appear clearly in the quote. For Brisbane homeowners concerned about upfront cost, solar financing options including green loans and pay-as-you-save arrangements are worth exploring before signing.
Your installer will also prepare or assist with the network connection application to Energex. For most standard residential systems in Brisbane, this is handled entirely by the installer. For larger systems or properties in areas with network constraints, the application may require additional information or take longer to process.
If your home doesn't yet have a smart meter, contact your electricity retailer now to arrange meter replacement. Meter replacement is the retailer's responsibility, not the installer's, and it needs to be completed before your system can be commissioned and your feed-in tariff activated. In Brisbane, meter replacement timelines vary by retailer and can take several weeks. Starting this process as early as possible avoids it becoming the bottleneck at the end of the installation.
Step 3: Pre-Installation Electrical Work — Switchboards and Compliance
For Brisbane homes that need preparatory electrical work before panels go on the roof, this step precedes the main installation day. The most common pre-installation electrical jobs are:
Switchboard upgrade Brisbane — required for homes with ceramic fuse boards, absent main switches, or insufficient capacity for the additional circuits a solar system requires. A switchboard upgrade is typically a half-day job completed one to two weeks before the main installation day, carried out by a licensed electrician under a separate Certificate of Testing and Compliance.
Asbestos remediation in meter box backing boards, which must be carried out by a licensed asbestos removalist before any electrical work in that area proceeds
Earthing upgrades or other electrical compliance work identified during the site assessment
This work must be completed and signed off before the solar installation team arrives. Attempting to complete pre-installation electrical work and panel installation in a single visit on a property with significant preparatory needs creates time pressure and quality risks that are best avoided. If your installer is proposing to do it all in a single day, ask specifically how that will be managed.
Step 4: What Happens on Solar Installation Day in Brisbane
For a standard residential Brisbane solar installation on a straightforward property like a newer build in North Lakes or Springfield, the physical installation typically takes between four and eight hours depending on system size, roof complexity, and cable routing requirements.
Roof Work: Panel and Mounting System Installation
The installation team begins on the roof, installing the mounting rails or brackets that attach to the roof structure. For metal roofs, brackets are fixed directly to the purlins or rafters beneath the sheeting. For tiled roofs, purpose-made hooks are installed beneath tiles at rafter locations. The solar panels are then attached to the mounting system and connected in strings using DC cabling that runs from the panel array to the inverter location.
Inverter Installation
The inverter is mounted at the pre-agreed location, typically an external wall near the meter box in a shaded position that meets the manufacturer's ventilation requirements. The DC cable from the roof is connected to the inverter's input, and the AC output cabling is connected to the switchboard. DC and AC isolators are installed at the required locations.
Switchboard Connection
A dedicated solar circuit and associated protection devices are installed in the switchboard. This work must be carried out by a licensed electrician and is the point at which the solar system becomes connected to your home's electrical infrastructure. Expect your power to be off for one to two hours during this stage. Your installer should advise you in advance so you can plan accordingly.
System Commissioning and Testing
Once all components are installed and connected, the system is commissioned and tested. The inverter is powered up, panel output is verified, and the monitoring system is configured. The installer should confirm the system is producing as expected and walk you through the monitoring platform before leaving.
Compliance Documentation
The licensed electrician responsible for the electrical work issues a Compliance Certificate covering the electrical installation. This document confirms the work meets the applicable Australian Standards and Queensland electrical safety requirements as administered by the Electrical Safety Office Queensland. Keep this document with your property records alongside your panel and inverter warranty documentation and the installer's workmanship warranty.
Step 5: Energex Notification and Grid Connection Approval
Once installation is complete, the installer notifies Energex that the system has been installed and is ready for grid connection. For systems that received pre-approval as part of the network application process, this notification is typically straightforward. Energex may inspect the installation before formally approving the connection in some circumstances, though for standard residential systems this is not always required.
Your system will generate energy and power your home from the moment it's commissioned, regardless of the export approval status. The export approval specifically relates to sending surplus energy to the grid, not to using solar energy within your home. Most Brisbane systems begin exporting within days of installation, but understanding the formal approval timeline avoids confusion in the first week of operation.
Step 6: Smart Meter Upgrade and Feed-In Tariff Activation Brisbane
If your home didn't have a smart meter before installation, this is where the meter upgrade becomes the critical path item. Until a smart meter is installed and configured by your retailer, your system cannot be formally commissioned for feed-in tariff purposes, and any energy exported to the grid during this period may not be credited correctly.
Contact your electricity retailer immediately after installation to confirm the meter upgrade request is progressing. Once the smart meter is installed, your retailer will configure it for solar and activate your feed-in tariff. You should receive confirmation of the feed-in tariff rate and the date from which it applies.
For Brisbane homeowners in The Gap, Kenmore, Pullenvale, and outer western suburbs who arranged the meter upgrade early in the process, this step is often already complete by installation day. For those who left it until after installation, the wait can be frustrating — particularly with panels visible on the roof and an inverter showing generation data that isn't yet attracting the expected tariff credit.
Step 7: Solar Monitoring and Performance Review After Installation
Once your system is fully commissioned and your smart meter is active, establishing a monitoring routine is the final step in the installation process. Most modern inverters provide access to a monitoring platform via a smartphone app or web portal showing real-time and historical generation data. For homes with solar battery storage Brisbane, the monitoring platform also shows battery state, charge cycles, and self-consumption rates.
Your installer should have provided an expected annual generation figure for your system. Comparing actual output against that figure over the first few months gives you a meaningful baseline. If output is significantly below expectations in the first months of operation, document the issue with screenshots from your monitoring app and contact your installer with the specific dates and output figures showing the shortfall. Most installation workmanship warranties and panel performance warranties provide recourse for genuine underperformance, but acting early is important.
Solar Installation Timeline in Brisbane: From Decision to Commissioned System
The full solar installation process for a standard Brisbane residential property generally takes four to eight weeks. The exact timeframe depends on network approvals, metering requirements, preparatory electrical work, and the complexity of the property.
Site Assessment and Quote Acceptance
The initial site assessment, system design, quote review, and contract acceptance usually take one to two weeks. During this stage, the installer assesses your roof, shading, switchboard, meter, electricity usage, and system requirements.
Network Application Processing
An Energex network connection application generally takes one to three weeks to process. Standard residential systems are often approved quickly, while larger systems or properties in constrained network areas may require additional assessment.
Smart Meter Upgrade
Where a smart meter upgrade is required, the process typically takes two to four weeks. This work is arranged through your electricity retailer rather than your solar installer, so starting the request early can help prevent delays later.
Pre-Installation Electrical Work
Switchboard upgrades, earthing improvements, asbestos remediation, or other compliance work generally take one to two weeks to arrange and are usually scheduled separately from the main solar installation.
Solar Installation Day
The physical installation of a standard residential solar system usually takes four to eight hours on site. Larger systems, difficult roof layouts, or complex cable runs may require additional time.
Grid Connection Notification and Approval
After installation, the installer notifies Energex that the system has been completed. Grid connection notification and approval generally take one to five business days.
Feed-In Tariff Activation
Once the smart meter is installed and correctly configured, feed-in tariff activation usually takes one to three weeks after installation, depending on the electricity retailer.
Total Expected Timeframe
For a standard Brisbane residential property, the complete process generally takes four to eight weeks from the initial assessment to a commissioned system with an active feed-in tariff.
Properties requiring switchboard upgrades, structural engineering assessments, asbestos remediation, or additional network approval may take longer.
Commercial solar installations follow the same general process but usually involve additional structural engineering, formal network applications, and scheduling around business operations. A typical commercial installation may take eight to twelve weeks from assessment to commissioning.
STC incentives reduce in value each year as the 2030 scheme end date approaches. Starting your installation process now locks in a higher STC discount than waiting until next year.
📞 0468 813 833 | Book Your Solar Assessment
Most Brisbane installations are commissioned within six to eight weeks of assessment. Free on-site assessment. No obligation. 10+ years experience. 2,000+ Brisbane customers. Licensed Queensland Electrical Contractor. Clean Energy Council accredited.
FAQ
How long does solar installation take in Brisbane?
The physical installation on a standard Brisbane residential property takes four to eight hours. The full process from signing a contract to a commissioned system with an active feed-in tariff typically takes four to eight weeks, accounting for network applications, meter upgrades, and any preparatory electrical work. Find out more about solar panel installation Brisbane.
Do I need to be home during solar installation?
You don't need to be present for the entire installation, but it's advisable to be available at the start to confirm access arrangements and at the end for the system walkthrough and handover. Someone needs to be available to provide access to the switchboard and meter box location during the day.
What happens if it rains on installation day?
Most solar installations in Brisbane proceed in light rain, as roof work can continue safely in mild conditions. Heavy rain, storm conditions, or lightning in the area will cause the installation to be paused or rescheduled. Your installer will manage this and communicate any changes to the schedule.
Will my power be off during installation?
Yes, for a period during the switchboard connection work. The duration depends on the complexity of the switchboard work but is typically one to two hours. Your installer should advise you in advance of the expected outage period so you can plan accordingly.
Can solar panels be installed on any roof in Brisbane?
Most Brisbane roof types are compatible with solar installation, including corrugated metal, concrete tile, and terracotta tile. Flat roofs require specialist mounting systems. Roofs with asbestos-containing materials require assessment and remediation before installation proceeds. Structural condition, orientation, available space, and shading all affect suitability and are assessed during the site visit.
What warranty documentation should I receive after installation?
You should receive a Compliance Certificate from the licensed electrician covering the electrical installation, manufacturer warranty documentation for the panels and inverter, a workmanship warranty from the installer, and the Clean Energy Council accreditation details of the installer. Keep all of these documents with your property records.
Ready to Start the Process?
The solar installation process in Brisbane is well-established and, for most homes, genuinely straightforward. Understanding the steps involved, the realistic timeline, and your responsibilities as the homeowner means there are no surprises — and the day your system is commissioned and generating is the uncomplicated outcome it should be.
At Exclusive Electrical & Air, we manage the full solar installation process for Brisbane homeowners across all suburbs, from the initial site assessment through to commissioning and handover. We conduct a proper in-person site assessment, handle your Energex application, manage any preparatory electrical work, and see the job through to a commissioned system with active monitoring and a Compliance Certificate in your hands.
📞 0468 813 833 | Book Your Solar Assessment
Rated 5 stars by Brisbane homeowners on Google. Clean Energy Council accredited. Licensed Queensland Electrical Contractor. 10+ years experience. 2,000+ Brisbane customers. Free on-site assessment. No obligation.